Mouse acceleration, also known as pointer precision, is a feature that’s been around in Windows since the XP days. It was implemented with the intention of helping people feel more in control over their cursor, however, it can seriously throw you off while gaming.
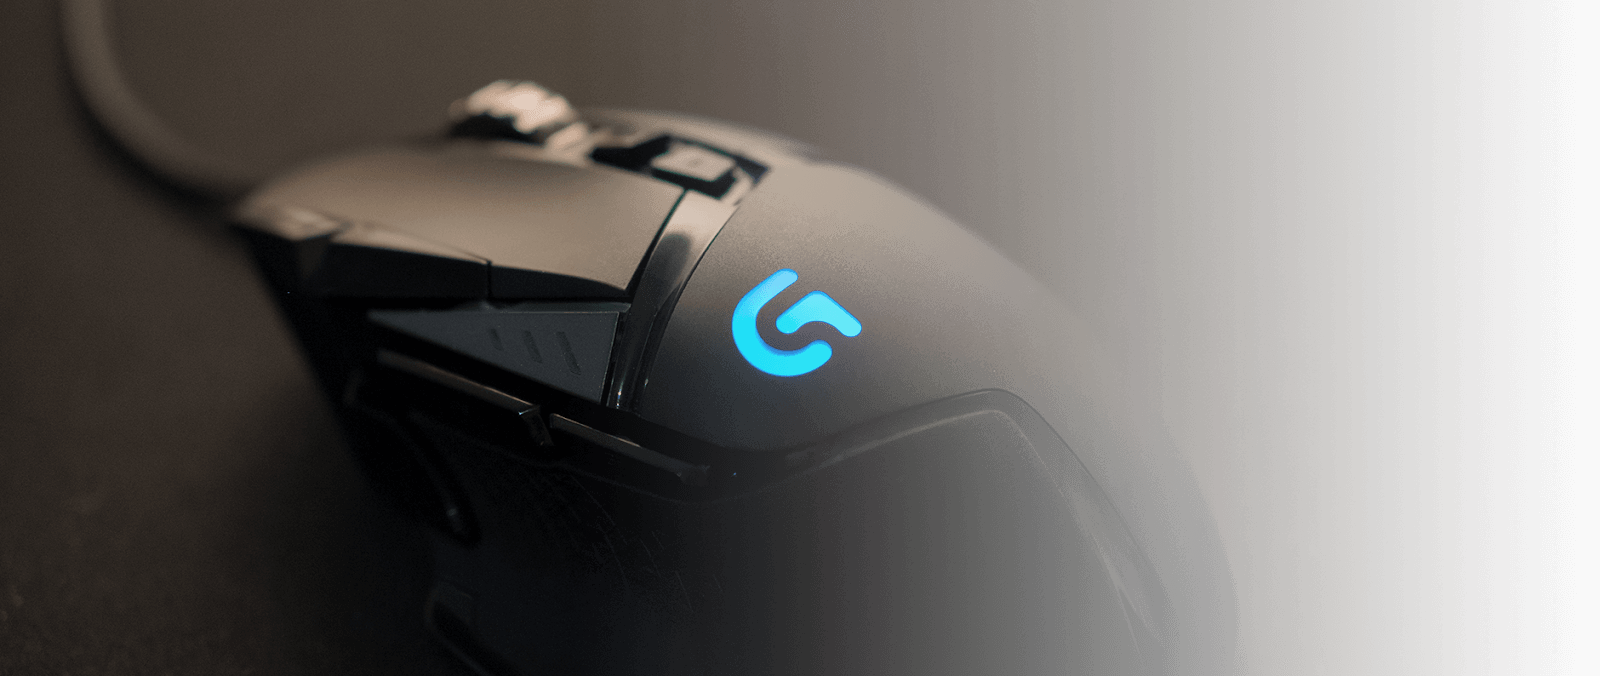
Many game experts recommend that you turn off mouse acceleration when playing video games. However, not everyone knows how to do this — this is where we come in with help. In this article, you can find out more about mouse acceleration, what it does, and how you can completely disable it from disturbing your aim.
Why is it recommended for gamers to turn off mouse acceleration?
If you play video games where you get an advantage from precise mouse movements, such as First Person Shooters, you know how important it is to ensure your aim isn't disturbed. Precise movements allow you to land more hits on your opponents and perform better in your game.
Windows 10's mouse acceleration is a feature that makes your cursor move based on speed rather than the physical distance you move your mouse. For example, you can slowly move your mouse across your entire table and it still won't cover as much distance on your screen as one small but fast movement.
Tip: While these methods were primarily written for Windows 10 devices, they can also be applied to older systems such as Windows 8 and Windows 7 as well. If you or anyone you know is experiencing similar issues, make sure to share our guide and recommend us!
On the other hand, disabling mouse acceleration makes it so your cursor moves a fixed amount of distance solely based on the physical movement of your mouse. This results in more control over your cursor, instantly improving your gaming aim. Moving your mouse will feel more natural, yielding an immediate improvement in games.
What popular games benefit from having mouse acceleration off?

There are thousands of video games that require you to use your eye-hand coordination well in order to perform above other players. Here are some examples that may help you better understand the problems mouse acceleration brings.
- Overwatch. The fast-paced gameplay of Overwatch requires you to be on top of your game. In this game, every moment counts. Any time wasted on trying to adjust your aim due to the mouse acceleration throwing you off can cause you to lose a match.
- Fortnite Battle Royale. Mixing the fast-paced building elements together with the need for careful aim makes Fortnite an extremely exciting game. Despite being a third-person game, having to constantly adjust your mouse movements may divert your attention from your enemies.
- Call of Duty: Modern Warfare. This new FPS experience is most enjoyable when you have full control over your mouse. Losing a mission because you didn’t move your mouse fast enough — or moved it too fast, — can be quite disappointing.
Why you may want to keep mouse acceleration turned on
Yes, we just described the disadvantages of mouse acceleration — however, for some people it may be better to keep the feature turned on.
If you’re limited to a small space, for example, a small mouse pad or not enough space on your table, you should consider keeping mouse acceleration enabled. It makes it so you can cover more distance on your screen by simply moving your mouse faster.
It certainly takes some getting used to, but it may turn out to be a feature you love while you’re unable to expand your physical space. We recommend giving it a try and seeing how it affects your mouse movements, your gaming aim, and so on.
As a bonus, we’ve included a short guide on how you can turn mouse acceleration on in Windows 10. Just scroll down to the next section!
If you’ve decided that it’s time to let go of mouse acceleration, you can follow our guide below to effectively disable it. These steps are extremely easy to follow, allowing anyone without prior Windows 10 knowledge to quickly get rid of the unwanted feature.
Let’s start right away!
Step 1. Open the Control Panel

The first thing you need to do to quickly adjust your mouse settings is to open the classic Control Panel. This may be similar to those who’ve used older systems such as Windows 7 or even Windows Vista.
While this panel was mostly replaced by the Settings app, it’s still available to use in Windows 10 as well. The first thing you have to do is press the Windows + R keys on your keyboard simultaneously. This will bring up a utility simply called Run.
You should see a typable field in this window. Type in the word “control” and hit the OK button. You should immediately see the Control Panel open up on your screen.
Step 2. Navigate to your mouse settings

When in the Control Panel, you need to navigate to the correct setting in order to modify how your mouse works. First, to stay in-line with our guide, make sure that your view mode is set to “Categories.” You can change this in the top-right of the window.
Next, click on the “Hardware and Sound” category. Doing so will take you to a new page with another set of menus. Look under the “Devices and Printers” heading, where you should see a “Mouse” link — simply click on that.
You should see a new window open up titled “Mouse Properties.”
Step 3. Disable mouse acceleration

Now, you should be in the correct window, but now on the correct tab. By default, the “Mouse Properties” window opens up with the “Buttons” tab open. This is not where the mouse acceleration setting is located.
What you need to do is simply click on “Pointer Options” from the menu located in the header section of the window.
Here, you should see a section titled “Motion.” At first, it may look like it’s there only for you to adjust your sensitivity, however, notice the single option under the slider. This is the mouse acceleration setting.
To turn off mouse acceleration, simply ensure that “Enhance pointer precision” is not checked. If there’s a checkmark visible next to the option, simply click inside the box to remove it and click on the Apply button.
You should immediately notice that your mouse movements are behaving differently.
Bonus: How to turn on mouse acceleration

If you think that you could benefit from having mouse acceleration turned on, we’ve put together a short guide on how you can enable it on Windows 10.
- Open the Settings application from your Start menu. Alternatively, use the Windows + I keys on your keyboard.
- Click on “Devices.”
- Switch to the “Mouse” tab using the left-side panel.
- Click on the “Additional mouse options” link, either located at the bottom of the page or on the right side of it.
- Change to the “Pointer Options” tab.
- Make sure that “Enhance pointer precision” is checked, then click the Apply button. You should immediately notice the effects of mouse acceleration.
We hope that this article was able to help you better understand mouse acceleration and learn how you can disable or enable it. You can always alternate between the two settings as well — experiment and do what makes you play better.
Are you interested in learning more about Windows 10? Check our guide on how to fix mouse lag in Windows 10 here.
If you’re looking for a software company you can trust for its integrity and honest business practices, look no further than SoftwareKeep. We are a Microsoft Certified Partner and a BBB Accredited Business that cares about bringing our customers a reliable, satisfying experience on the software products they need. We will be with you before, during, and after all the sales.