As you embark on this journey to demystify the red "X" on your Windows folders, you'll equip yourself with the knowledge to make informed decisions and take corrective actions. So, let's delve into the intricacies of this enigma, unravel its implications, and empower you to regain control over your digital organization.
Table of Contents
- Understanding the Red "X" Sign
- Causes Behind the Red "X" Sign
- Resolving the Red "X" Sign Issue
- Prevention and Maintenance
- Empowering Your Digital Experience
- Final Thoughts
Understanding the Red "X" Sign
You might have encountered the perplexing red "X" symbol on your folders, hard drives, or files in Windows, and it's not just a random quirk. This little red "X" holds valuable clues about the status of your files and their connection to your digital world. Let's break it down in straightforward terms:
What the Red "X" Sign Indicates
- The red "X" essentially signals that something isn't quite right with a file, or perhaps a file within a folder. It's like a digital flag that catches your attention.
- Two main reasons can trigger the red "X":
- If a file name includes certain characters like "#," "%," "*", or others, it can lead to the red "X" appearing.
-
Another trigger is if the file type is restricted within OneDrive, the cloud storage service.
Common Locations and Potential Impact
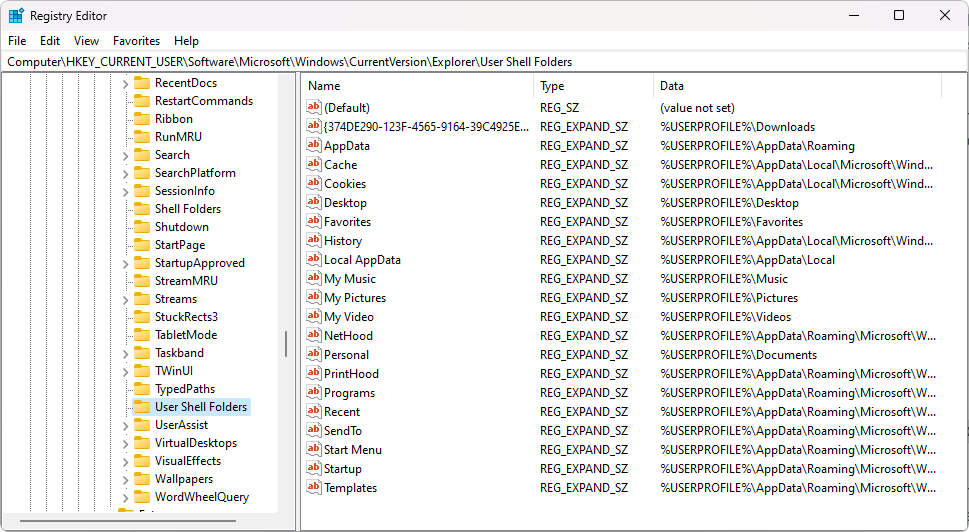
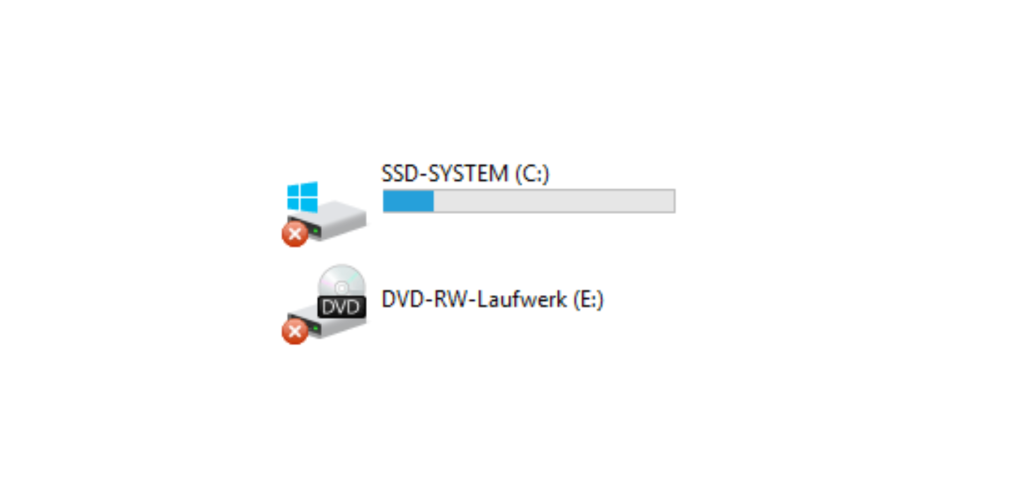
- The red "X" can appear on your folders, files, or hard drives. It's a heads-up that those files might not be fully linked to your Microsoft account.
- When this happens, the files won't sync or update as they should. This could mean outdated information or difficulties accessing them on compatible devices.
Why the Onedrive Red X Appears
- Imagine Onedrive as a bridge connecting your computer and a cloud server where your files are stored. The red "X" shows up when this bridge faces connectivity problems.
- Slow or unstable internet connections can be the culprits here. If files can't travel smoothly between your device and the cloud, the red "X" steps in.
Causes Behind the Red "X" Sign
Ever spotted that pesky red "X" on your Windows 10 icons? It's a rare but irksome sight that can put anyone in detective mode. Let's break it down without the tech jargon:
- Network-Related Issues:
Think of it like a dropped call in the digital world. When your internet connection wavers, the "X" pops up, signaling a disconnect between your files and the cloud storage.
- Synchronization Conflicts:
Imagine two people trying to talk simultaneously—your files can have similar clashes. Sync issues arise when different versions of the same file want to occupy the same digital space.
- Storage and Permissions Problems:
Sometimes, it's like a gatekeeper issue. The "X" might mean your files don't have the right permission or space to sit comfortably.
The Mystery Behind Windows 10's Red "X":
- While the exact reasons remain a bit of a puzzle, one thing's certain—this red "X" points to files that are out of the loop.
- When you spot it, brace yourself for files not updating, refreshing, or syncing like they're supposed to.
Decoding the "X" with Sync Errors:
- If you spot that red cross next to your files, think of it as a flag saying, "Houston, we've got a syncing issue!"
- Find the OneDrive icon near your clock, down at the screen's bottom. If it's flashing an "X" too, it's the network bridge having a rough day.
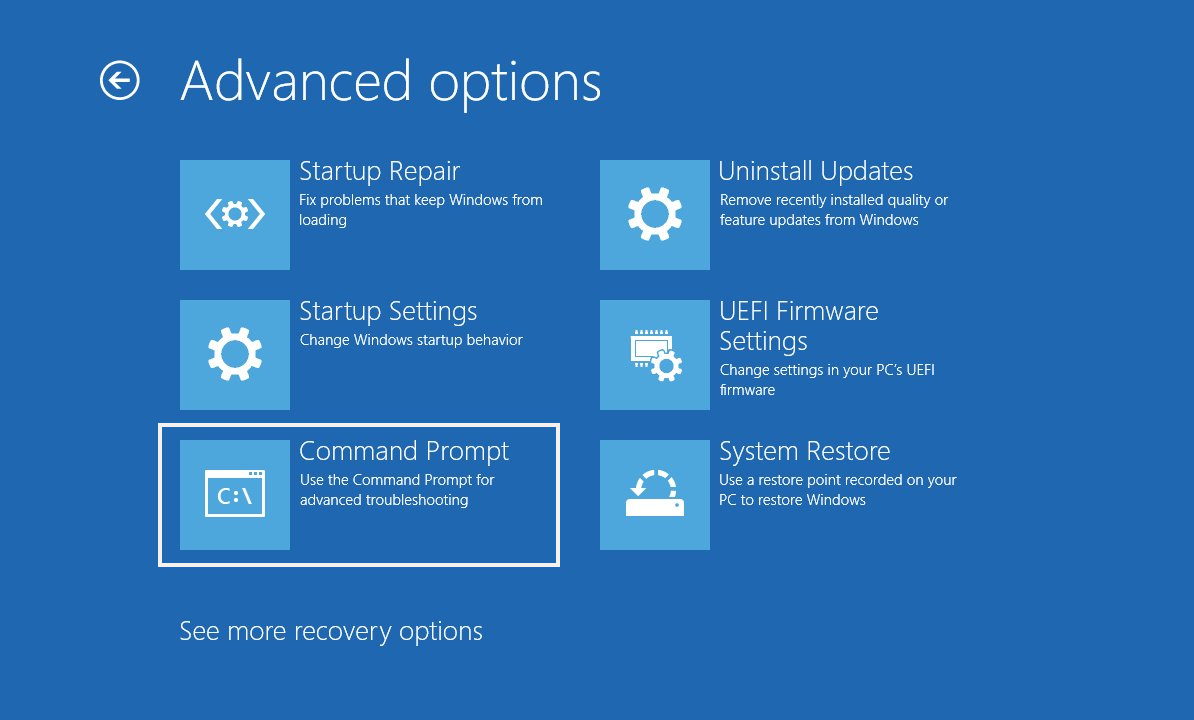
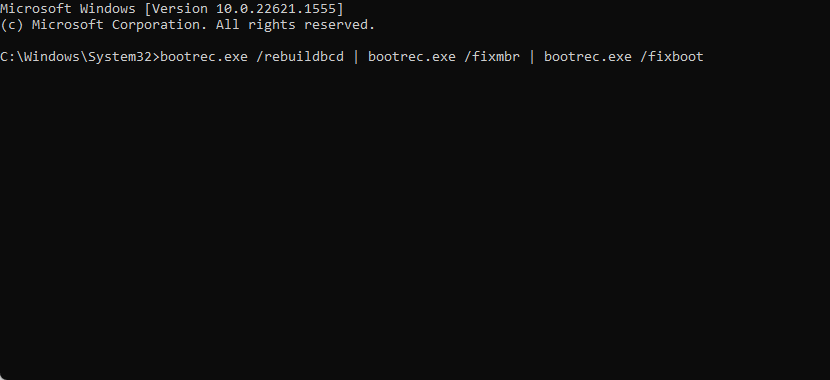
Resolving the Red "X" Sign Issue
You've spotted that red "X" on your files, and it's time to tackle it head-on. Don't worry; you've got this. Let's keep it simple:
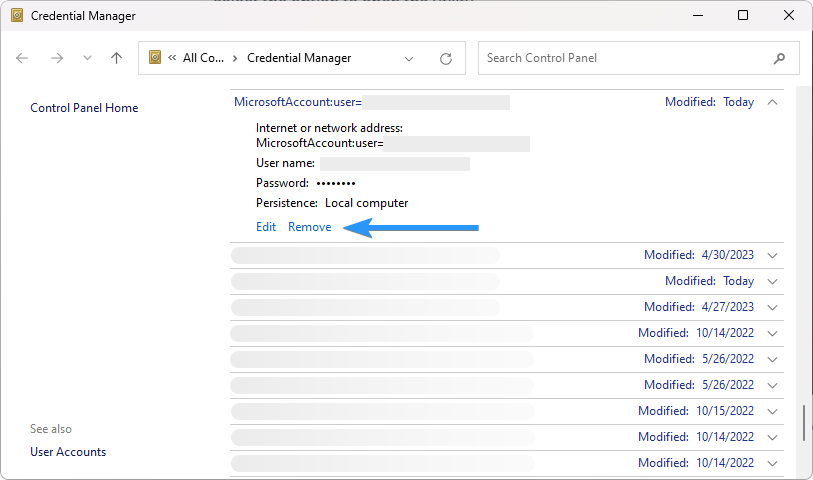
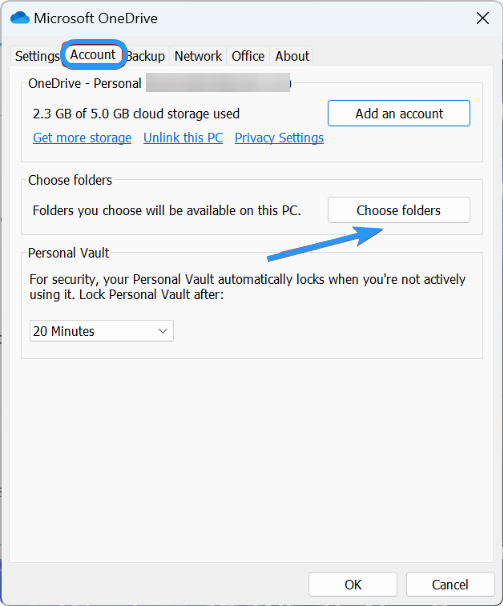
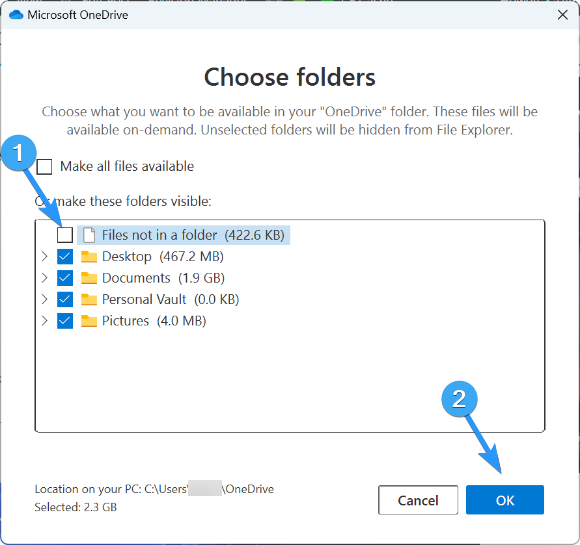
- Log Into OneDrive and Begin Syncing:
That red cross or slanted dash on the OneDrive icon? It's waving a flag: you're not logged in. Your files aren't in sync. Sign in to OneDrive again to kickstart the syncing process.
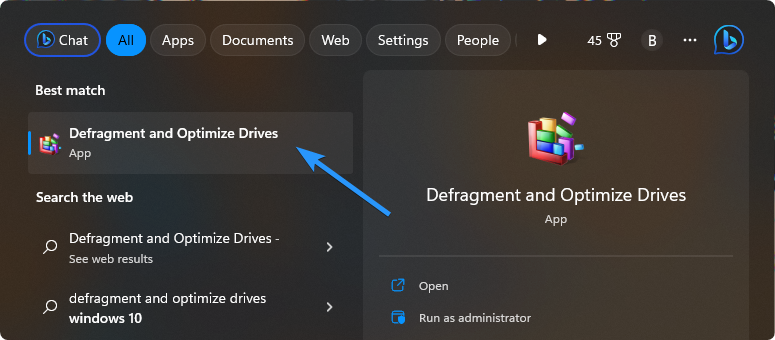
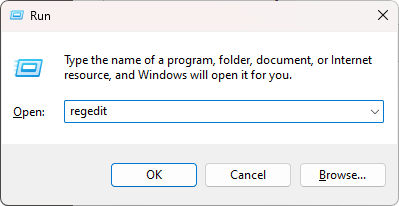
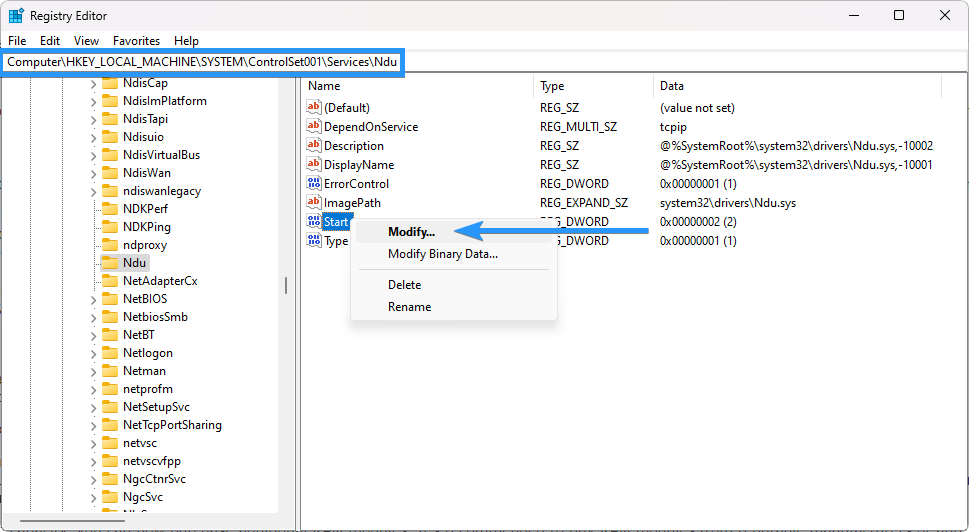
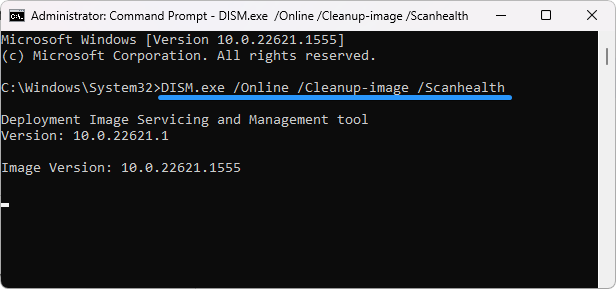
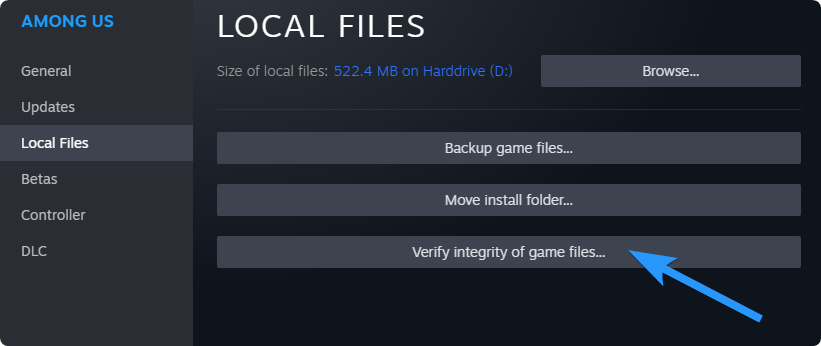
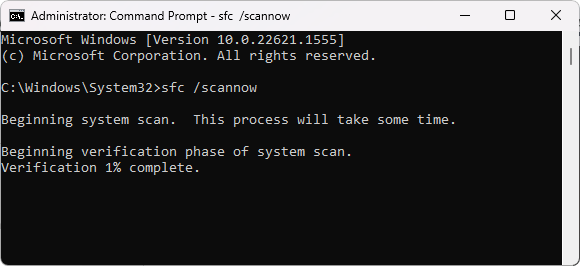
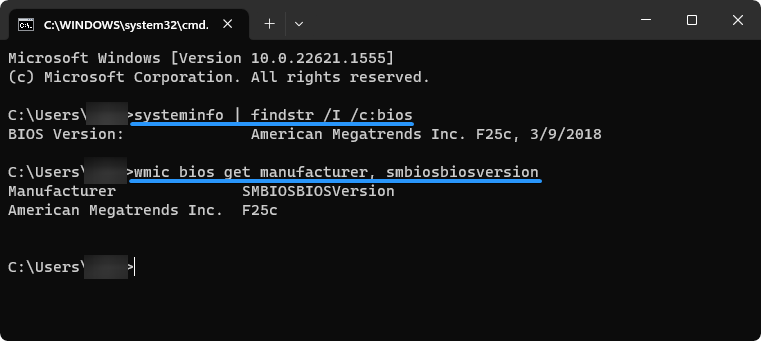
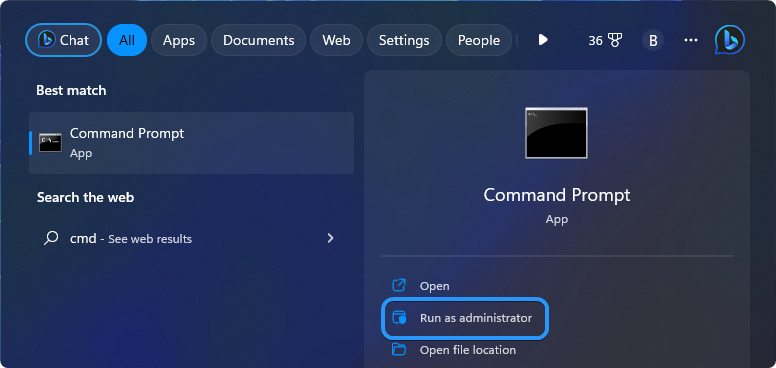
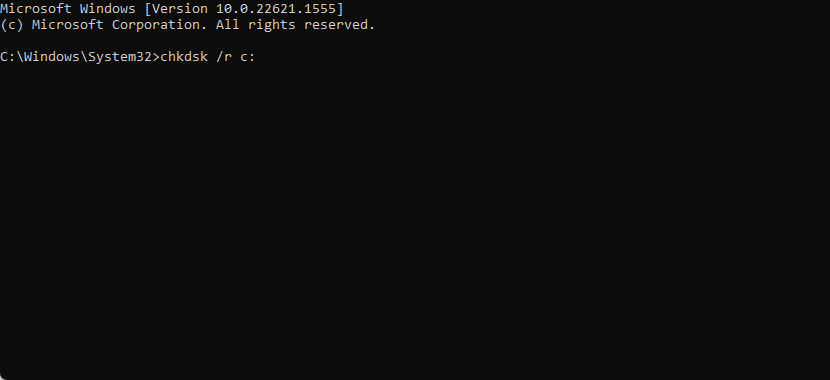
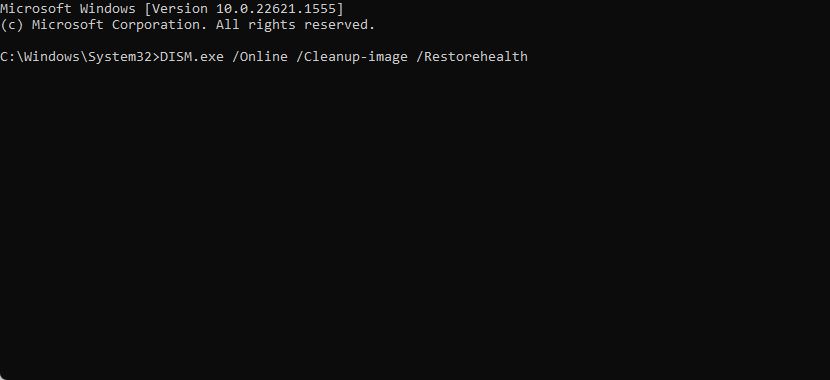
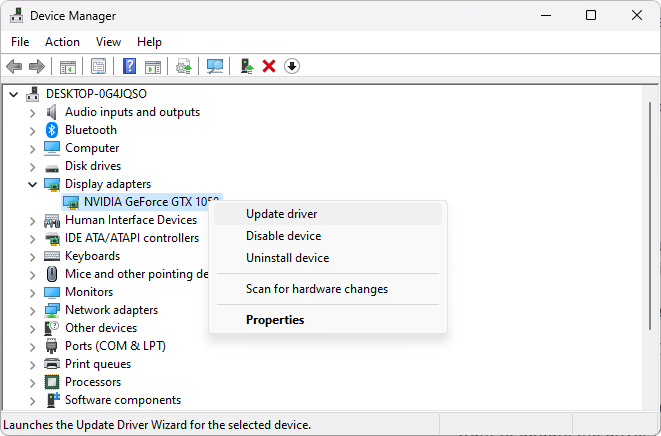
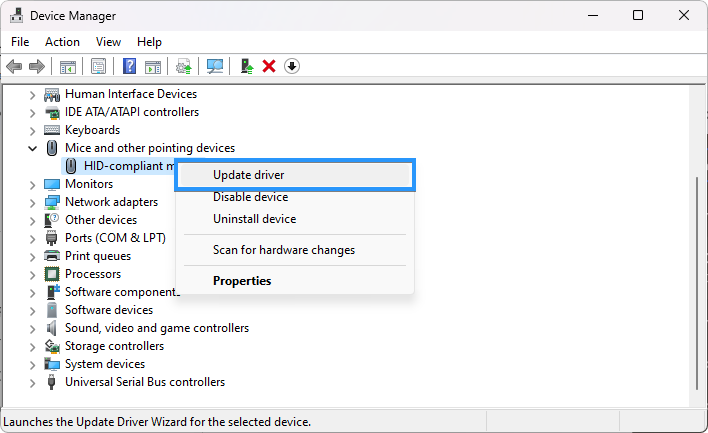
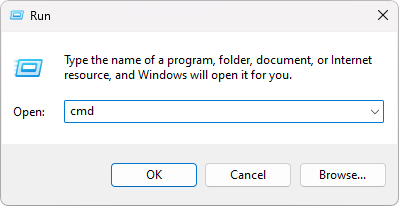
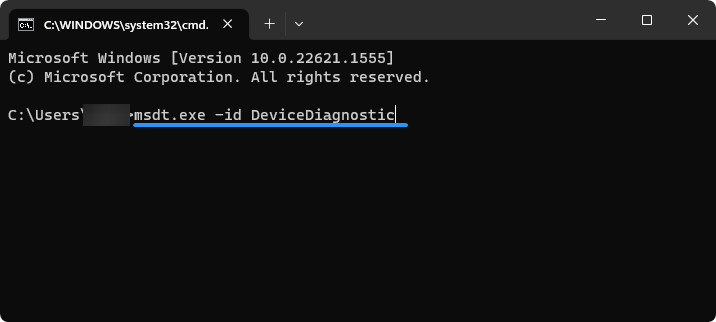
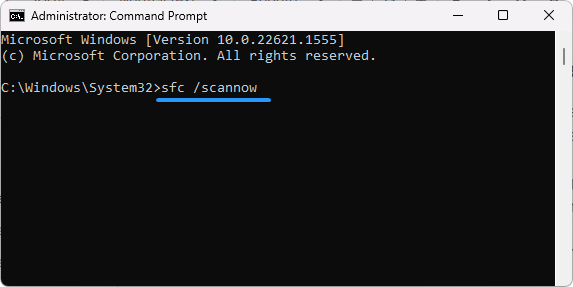
- Run CHKDSK - Your Digital Doctor:
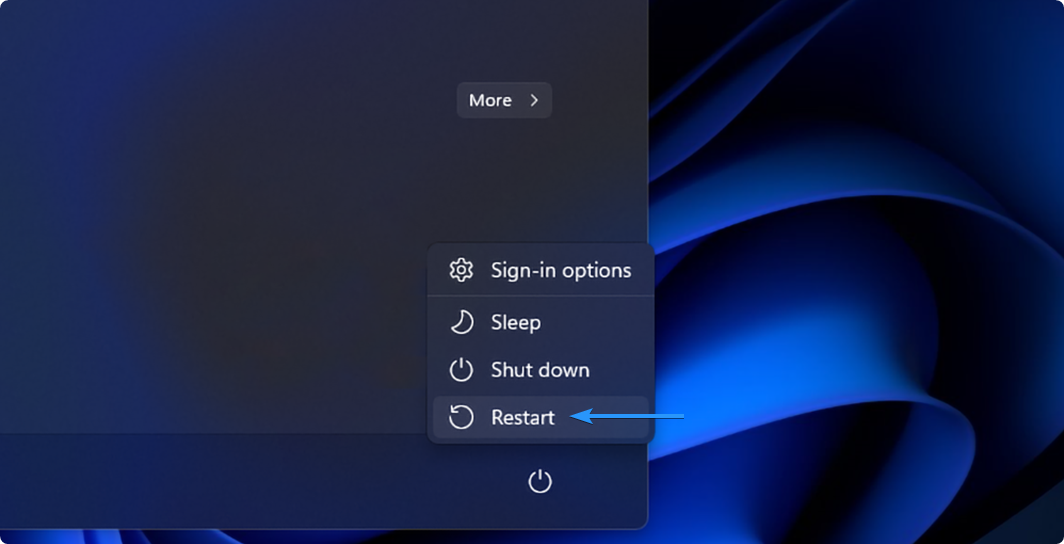
Think of CHKDSK like a digital stethoscope. It's here to diagnose and fix the red "X" issue. Once you run it, CHKDSK scans and repairs errors. It might ask for a scheduling for disk check—just say yes. Afterward, restart your computer and see if the "X" vanishes.
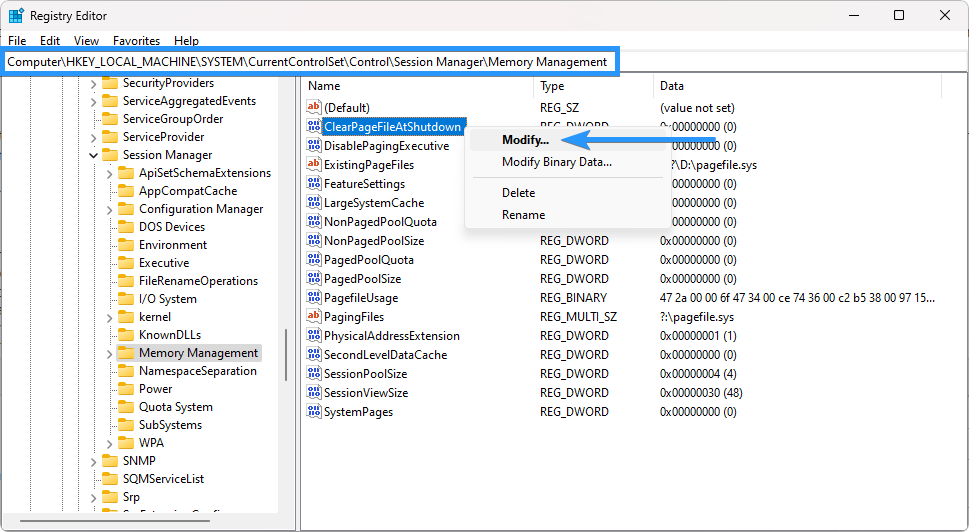
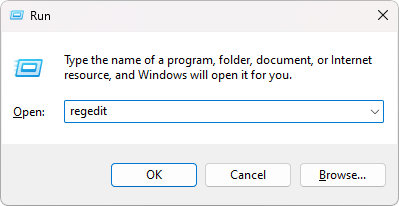
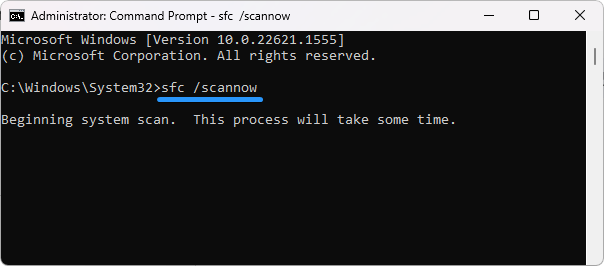
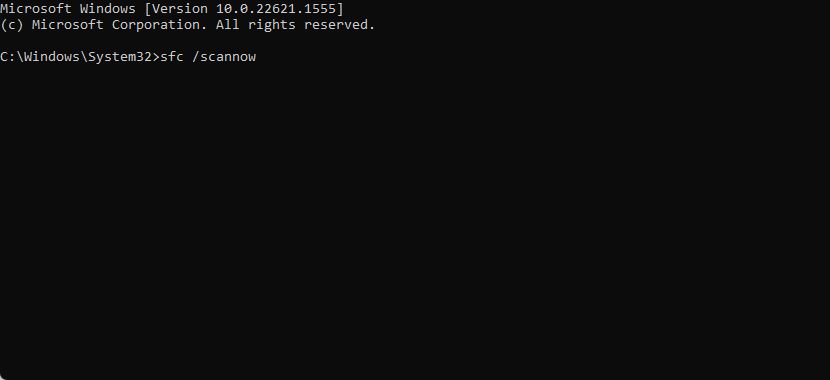
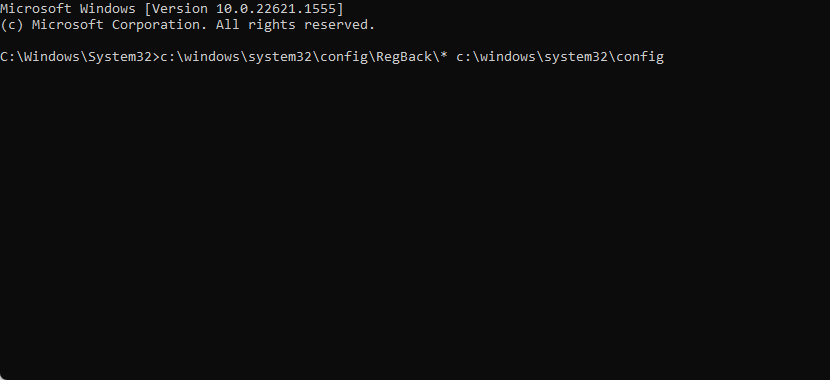
- Check for Corrupted Files:
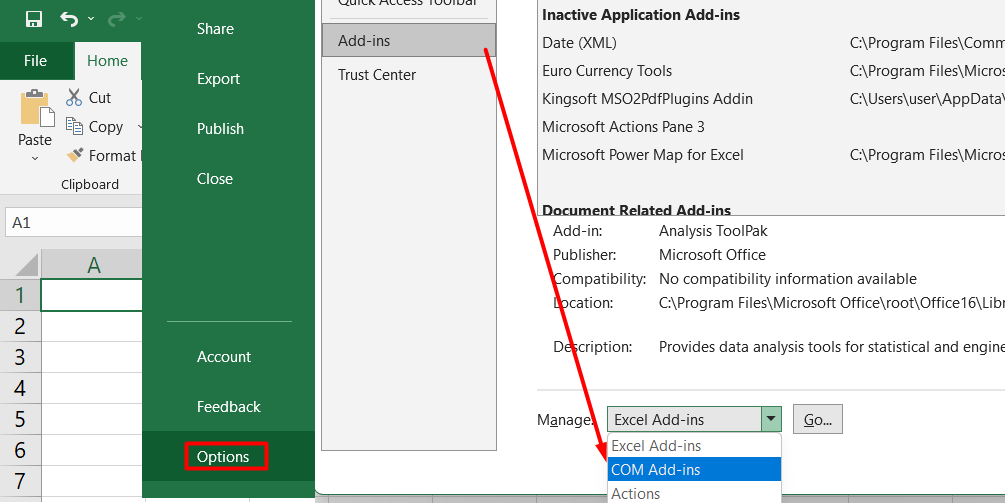
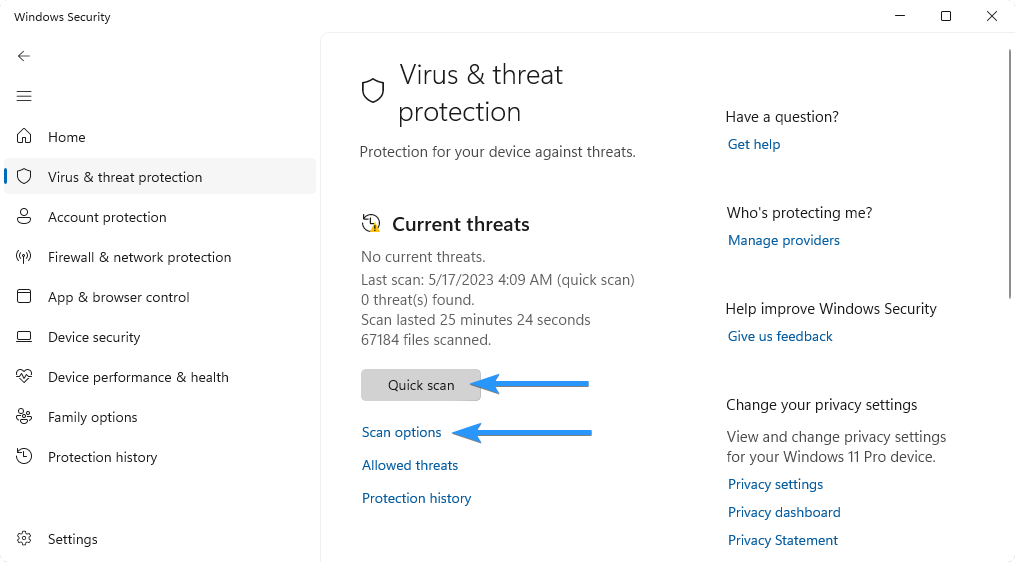
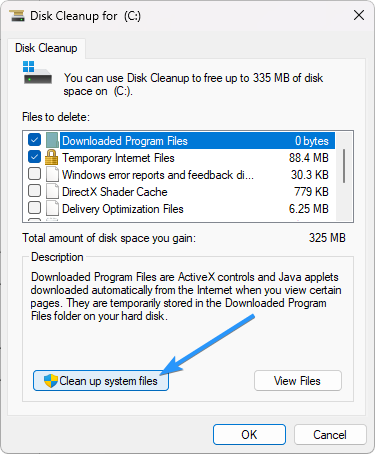
Sometimes, files act up and go wonky. If it's happening in a specific folder, inspect it. Corrupted files might be the culprits. You can use built-in Windows tools to repair them.
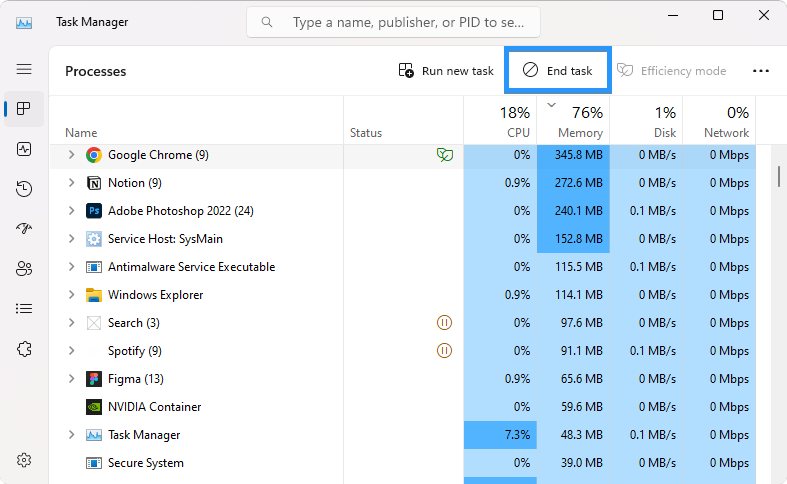
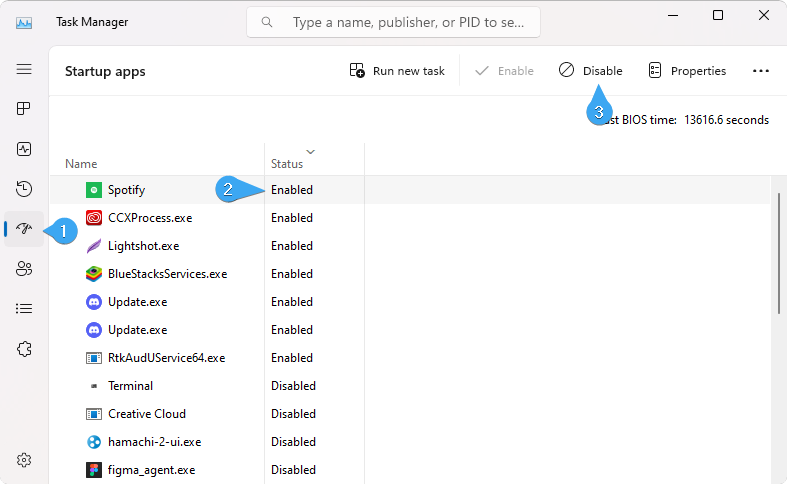
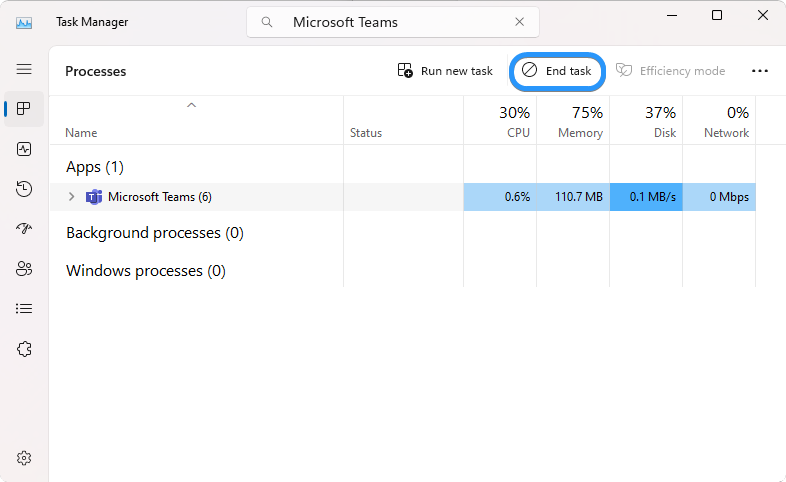
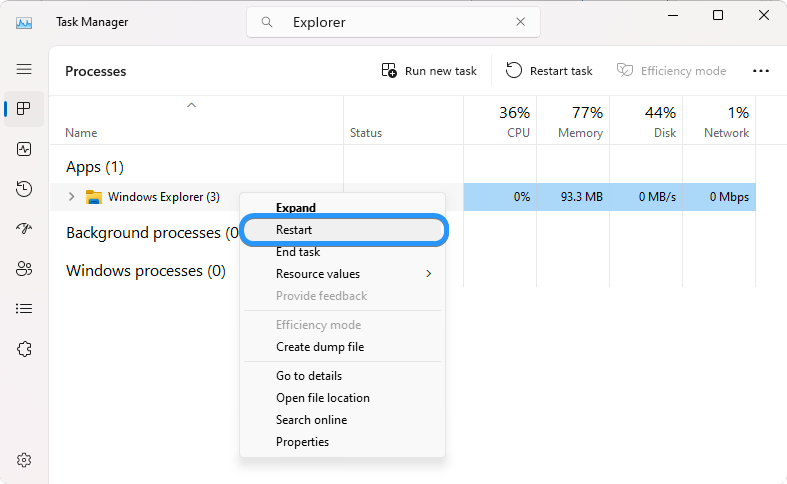
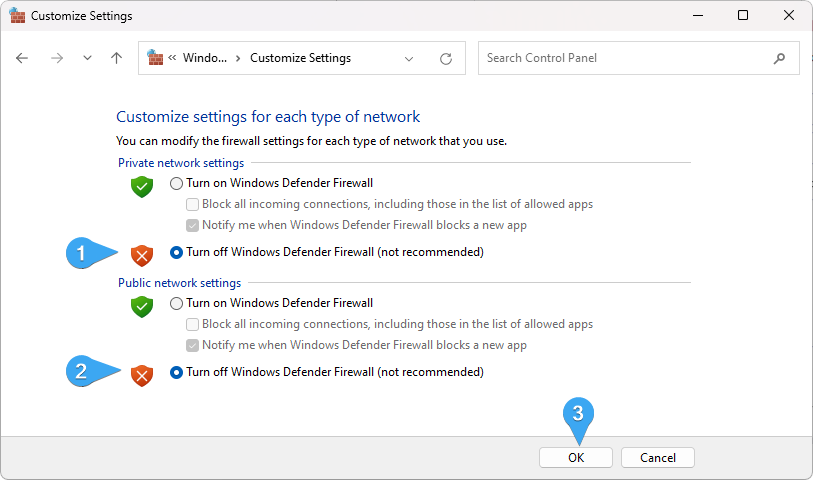
- Close the Sync Competitors:
Imagine your computer like a busy street. Too many cars (or apps) can clog things. Before fixing the "X," make sure no other storage or sync apps are running in the background.
- Give OneDrive Some Breathing Space:
If you're using OneDrive on the web, say "See you later" before fixing the "X." Close it down to avoid any hiccups during your troubleshooting journey.
Prevention and Maintenance
Now that you've conquered the red "X" on your files, it's time to ensure it never makes an unwanted return. Let's dive into some savvy practices that will keep your digital world humming smoothly:
Best Practices for a "No More Red X" Future
- Stay clear of using funky characters like "#," "%," or others in your file names. These can trigger the red "X," so go plain and simple.
- When in doubt about a file type, check OneDrive's restrictions. Stick to the allowed types to dodge that pesky "X."
Regular System Maintenance Tips
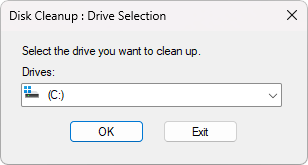
- Think of your computer like a car—it needs some love. Regularly clean up clutter, old files, and apps you don't use. Less junk means fewer chances for the "X" to sneak in.
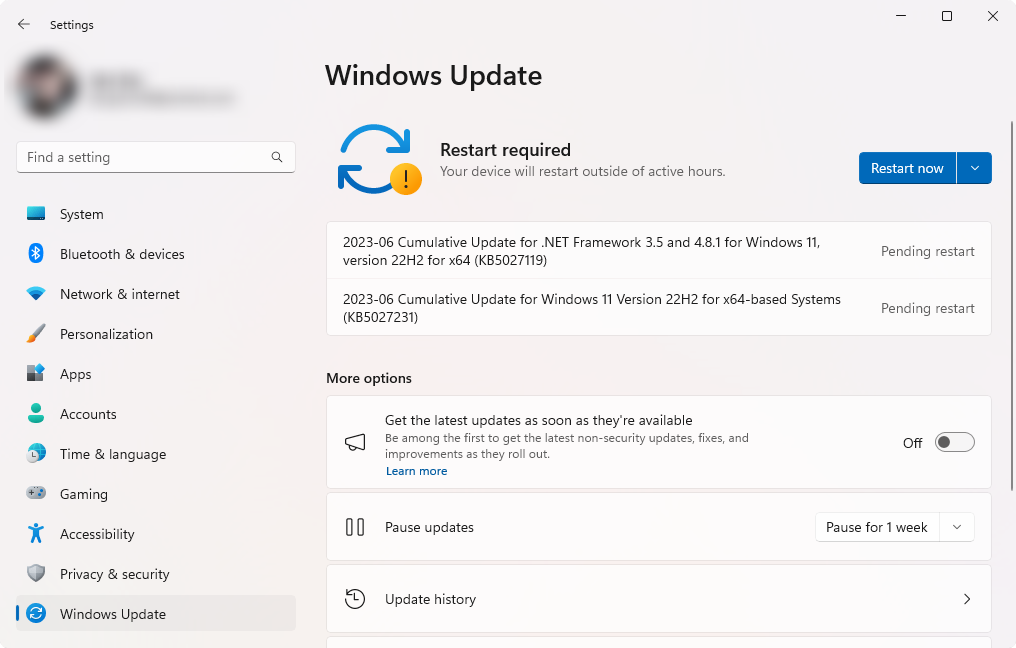
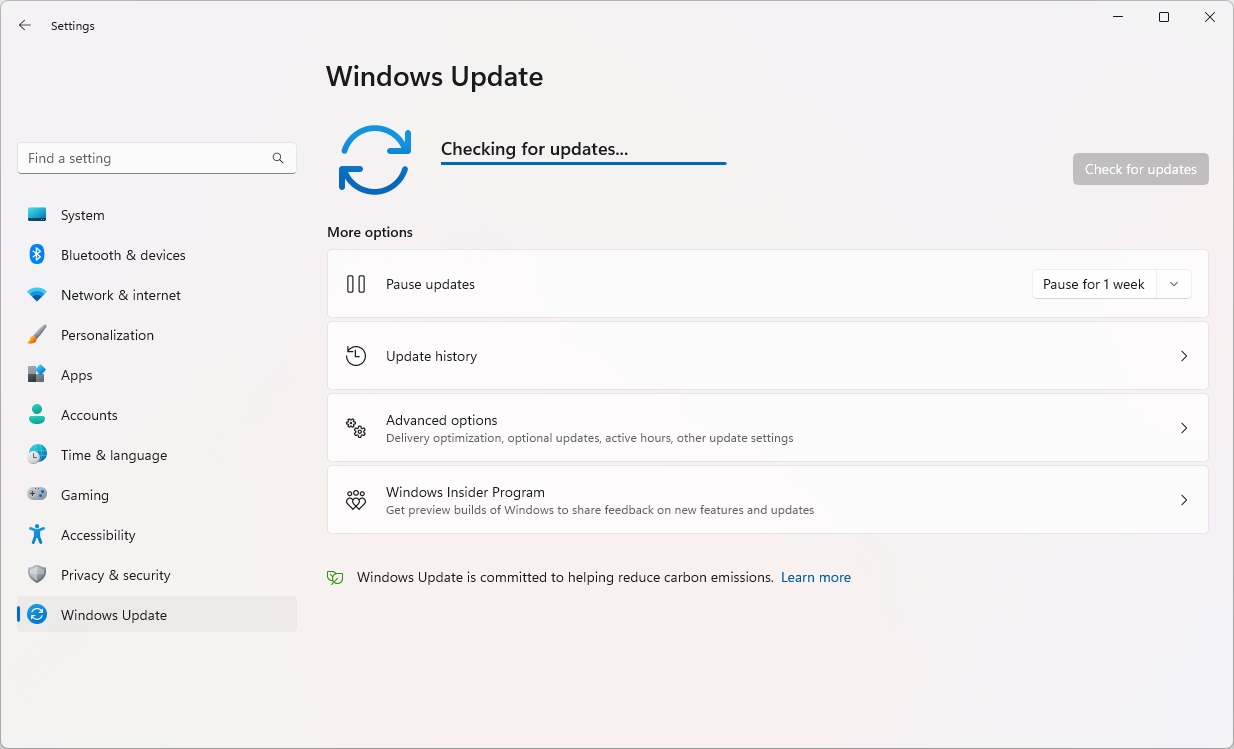
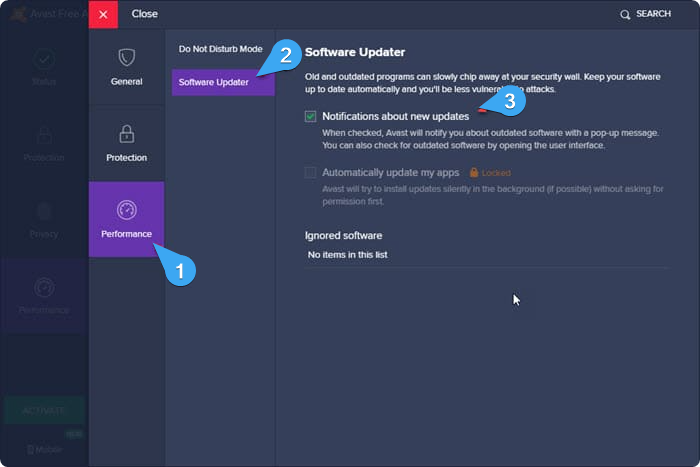
- Run system updates like a pro. These updates often fix bugs and issues, giving the red "X" no room to knock on your digital door.
The Software Update Secret
Imagine software updates as security patches for your digital life. Keep your operating system and apps updated to the latest versions. Updates often plug holes that could lead to issues like the red "X."
Empowering Your Digital Experience
You've tackled the red "X," but let's not stop there. It's time to level up your digital game and create a smoother, more organized world for your files:
Gaining Control Over Your Folders:
Imagine your files as a well-arranged bookshelf. Take charge by creating folders for different categories—like work, personal, and photos. This means you'll always know where to find stuff.
Enhancing File Organization Skills:
Think of organizing files like sorting a puzzle. Use clear names that hint at the content, making retrieval a breeze. Plus, consider subfolders for even more orders.
Ensuring a Seamless Windows User Experience:
Picture Windows as a helpful butler. Customize your settings—like how icons display which folders open first—to match your preferences. Windows bends to your needs.
Final Thoughts
The red "X" sign might have once bewildered you in digital landscapes, but now, armed with knowledge, you're ready to conquer it. Remember, the red "X" is your guide, pointing out connectivity hiccups and file skirmishes.
Recap what you've learned: troubleshoot network woes, resolve sync conflicts, and optimize storage and permissions. Apply this newfound wisdom to regain control over your files, ensuring they sync harmoniously across devices.
One more thing
If you have a second, please share this article on your socials; someone else may benefit too.
Subscribe to our newsletter and be the first to read our future articles, reviews, and blog post right in your email inbox. We also offer deals, promotions, and updates on our products and share them via email. You won’t miss one.
Related Articles
» How to Delete or Rename the Software Distribution Folder in Windows 10/11
» Can’t Move a Folder on Windows 11/10 (Fixed)
» Where Is the Startup Folder in Windows 11/10?